Good morning, sir,
today I present to you a Easter DIY made with my six-year-old daughter Artemis.
By dint of seeing me do so many things, she obviously wants to participate and says to me: Mom, can we do something together, please? I know that the verb “to do” does not mean to “do” shopping or housework, but to “make” something together.
Easter is the perfect time for creative hobbies: stick your nose in a hobby shop and you’ll be sure to come out with your arms full of cute things for a top-notch Easter décor.
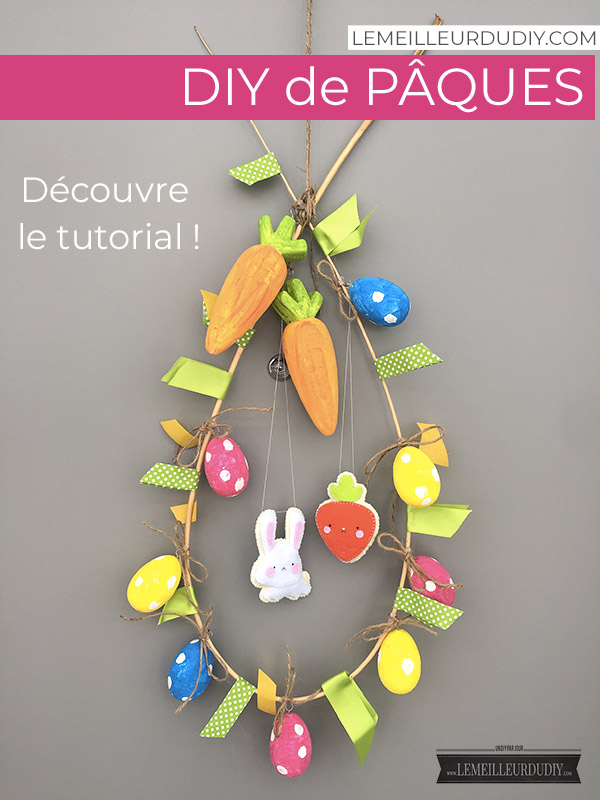
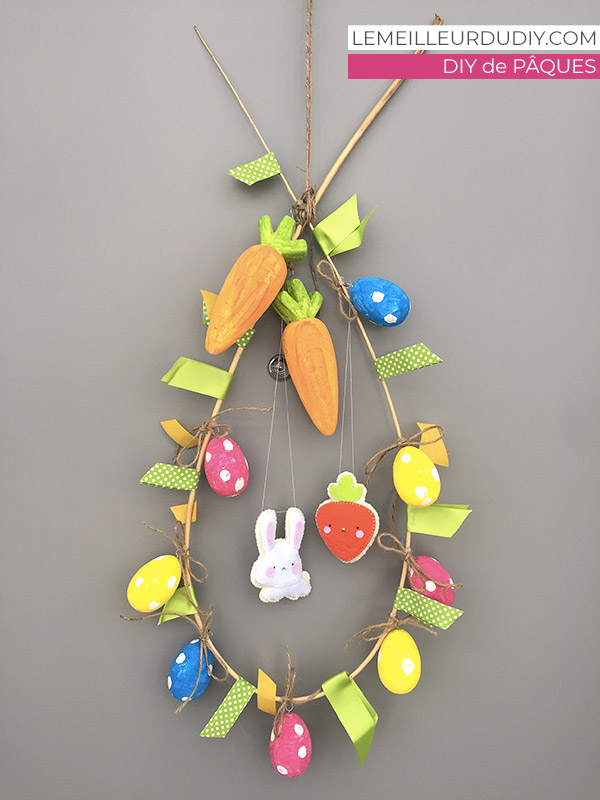
Here we go for a DIY Easter Wreath!
A DIY Easter Wreath in two parts
I propose you to discover this DIY in 2 parts.
The first part can be done with children and the second part is more for adults or older children who have mastered sewing needles.
A beautiful Easter wreath
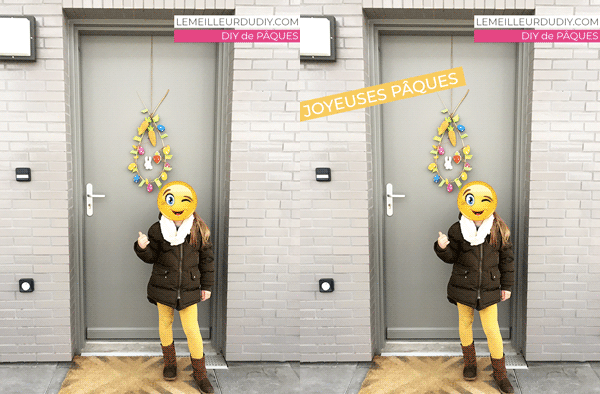
To make this pretty wreath to hang on your front door or in your house, you will need materials that can be found in all hobby shops or on Amazon.
The equipment
You will need the following items to complete the first part of the DIY :
The tutorial for making the Easter wreath
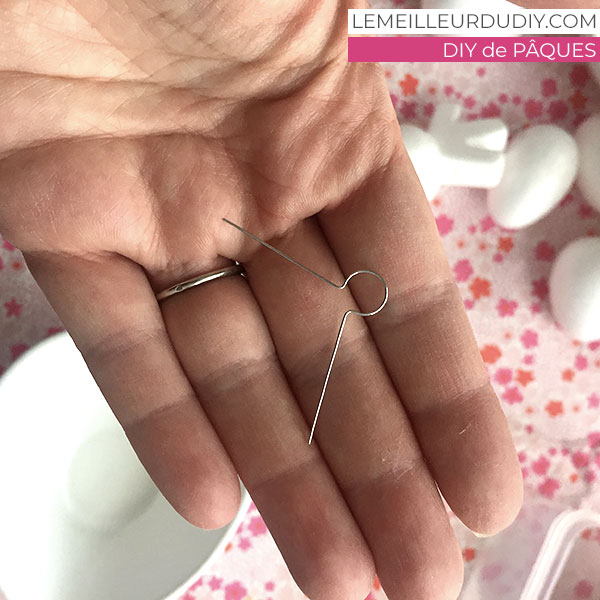
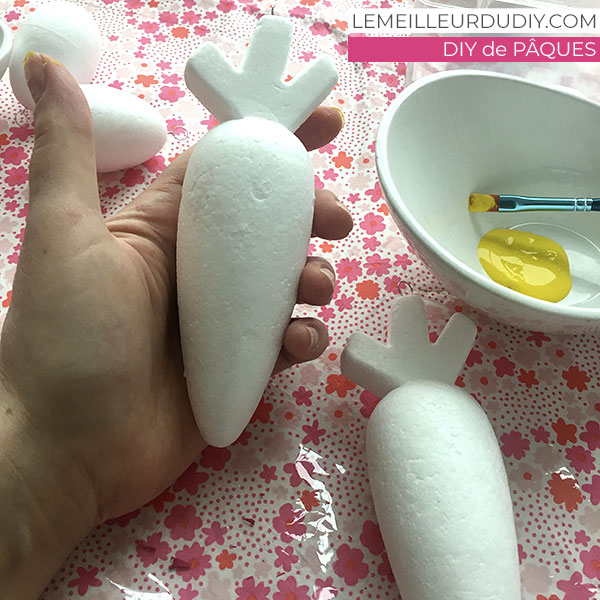
Plant metal attacks in polystyrene eggs and carrots. This will allow you to hold the eggs and carrots without getting a lot of paint on your fingers.
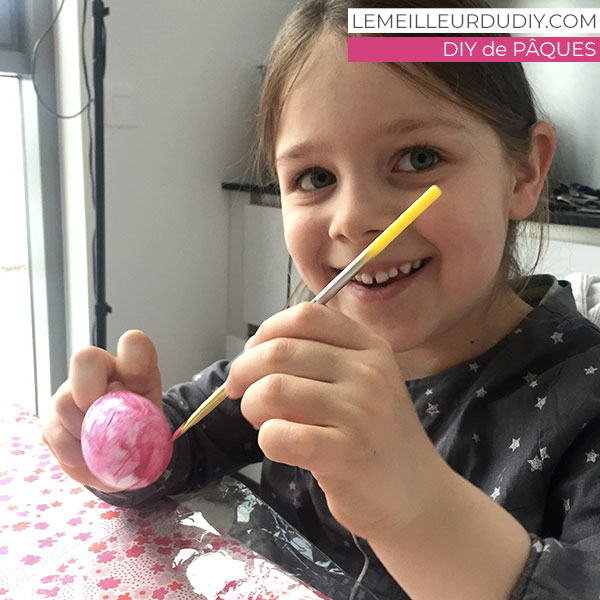
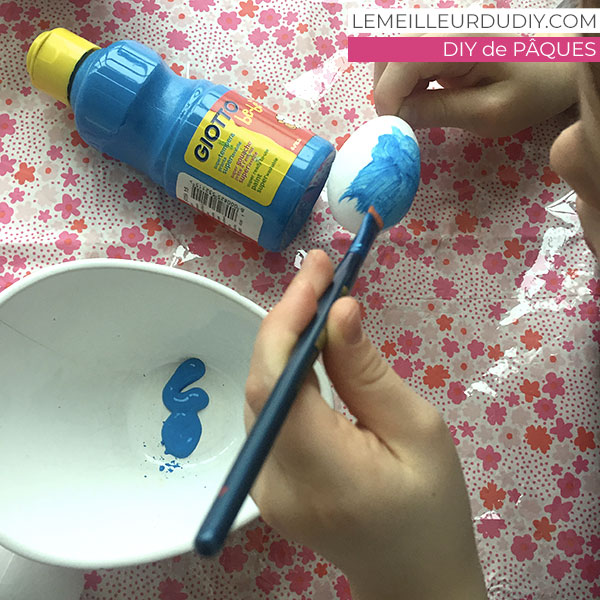
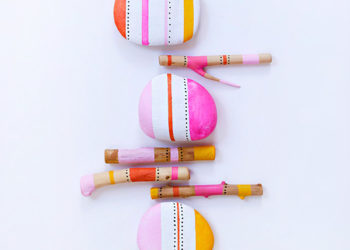
Paint the eggs whole, holding them by the clip.
That’s when the kids have the most fun… you’re allowed to put it on your fingers if you want 🙂
We still chose to put on a little blouse to limit the damage!
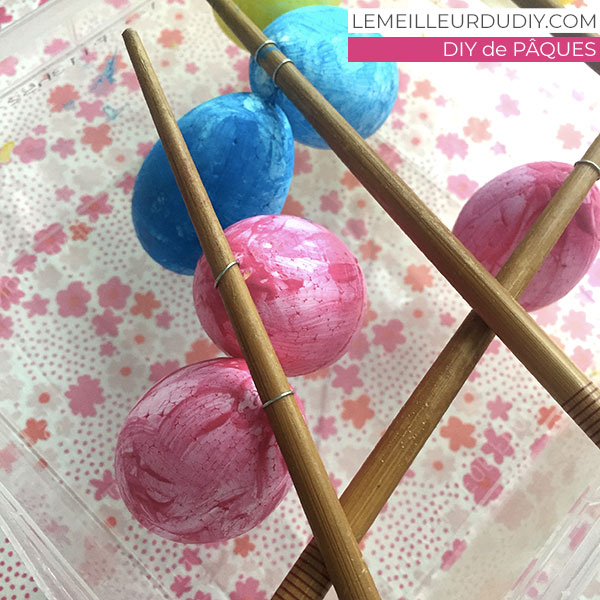
Once the egg is painted, you don’t know where to put it!
It’s simple though, just pass a stick through the egg’s attachment and place the stick on a large box. This way the egg stays in suspension while it dries.
Apply a second coat of paint for more intensity.
Draw small white dots on the eggs.
Tip for making peas in paint
You can do it with a stamp cut out of a cork. Stamping is easier for a child than drawing a circle of paint.
Customize your carrot!
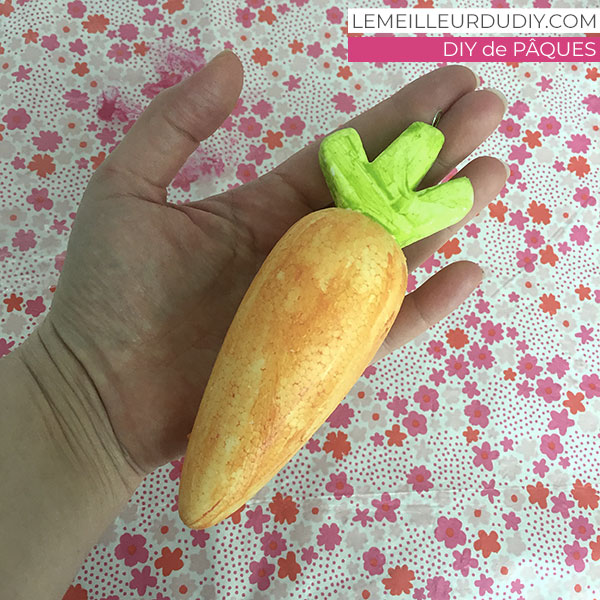
Paint the carrot green and orange. You have the right to be more original if you want to!
Don’t hesitate to use shades of orange for more relief.
And the crown?
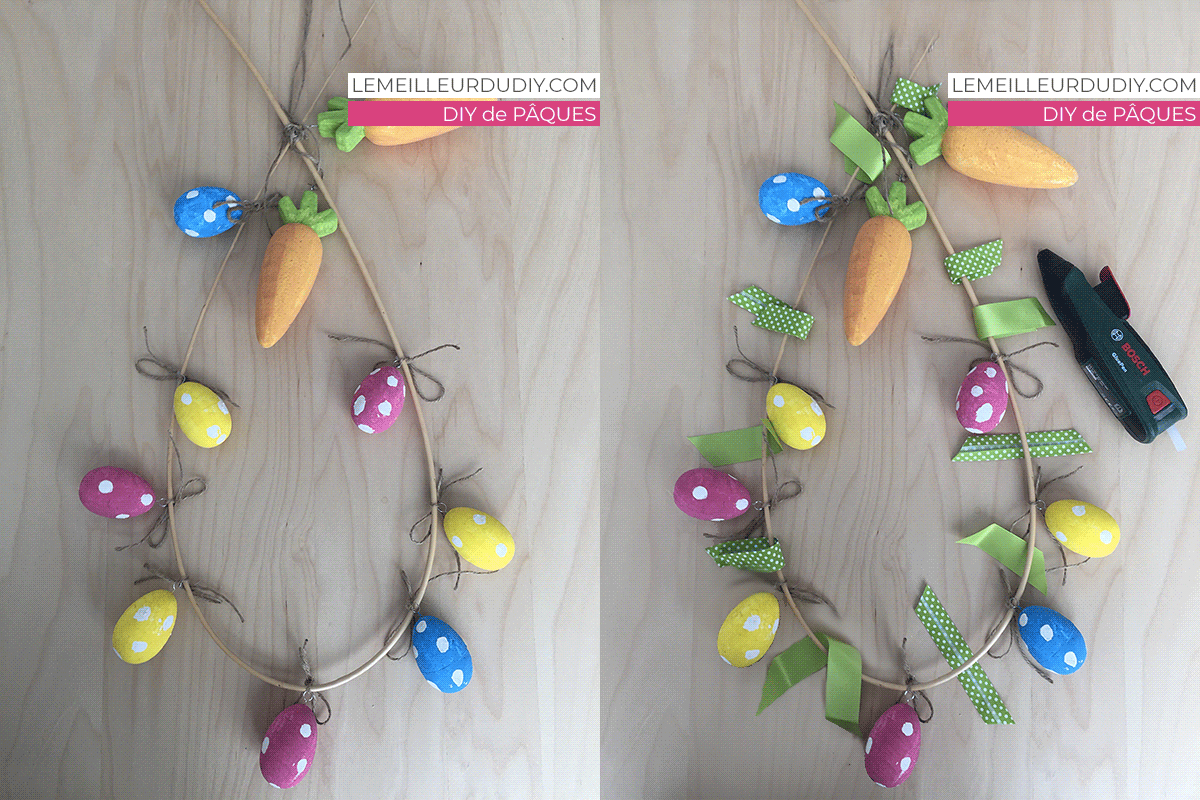
Take the wicker stem and bend it to the desired shape. You can make a round crown or a buckle. I chose to make a loop. Fix it with string.
Once the eggs and carrots are dry, tie them to the wicker with string using the metal clip. You can add a dot of hot glue with your glue gun if you feel that it slips and it won’t hold for long.
I use a Gluepen cordless glue gun from Bosch. No wire, it’s really ultra practical and efficient, I love it!
Cut the ribbons into 10cm to 15cm pieces. Cut the ends at an angle.
Glue the ribbons between each egg around the crown with the glue gun. You can of course use glue in a tube, but you will have to wait for the glue to dry by pinching the piece of ribbon.
Easy with the Easter wreath, isn’t it?
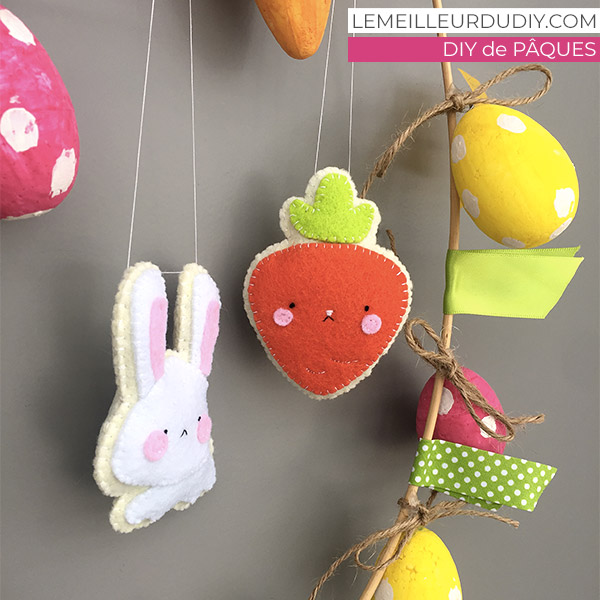
In a second part I will explain how to make the two little felt figures. Subscribe to the newsletter to be notified when the new article comes out.
With Artemis we wish you to Happy Easter and a lot of pleasure in carrying out your Easter DIY decos !
And above all, go see all the Easter DIYs for effects… whaouh guaranteed!!

