Good morning, sir,
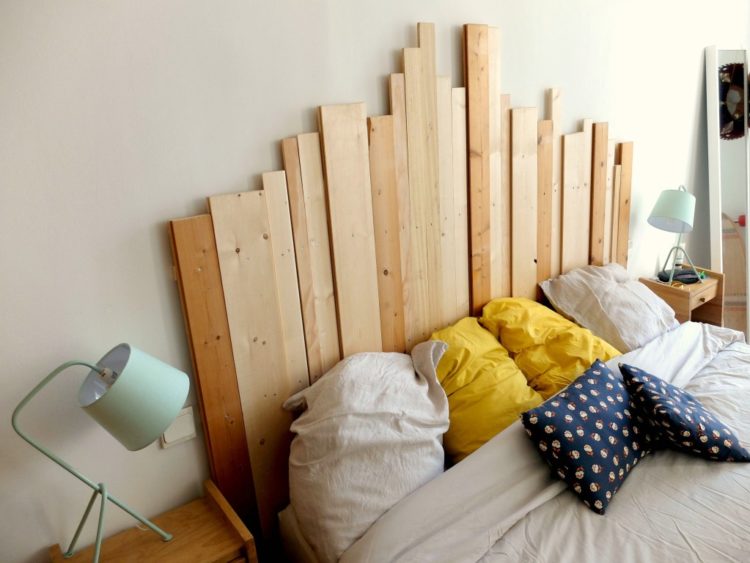
today I present you with a superb DIY that will allow you to realize a sublime headboard at a lower cost.
You’ll need some basic DIY tools like a screwdriver, but also some nice cleats that you’ll choose for their color.
You will find in this tutorial all the technique to create this superb headboard whose width and height you can adapt as well. It will be perfect to decorate your room. Your white wall will no longer be sad, on the contrary, it will highlight your homemade headboard.
I also give you in this article some customization ideas for this headboard.
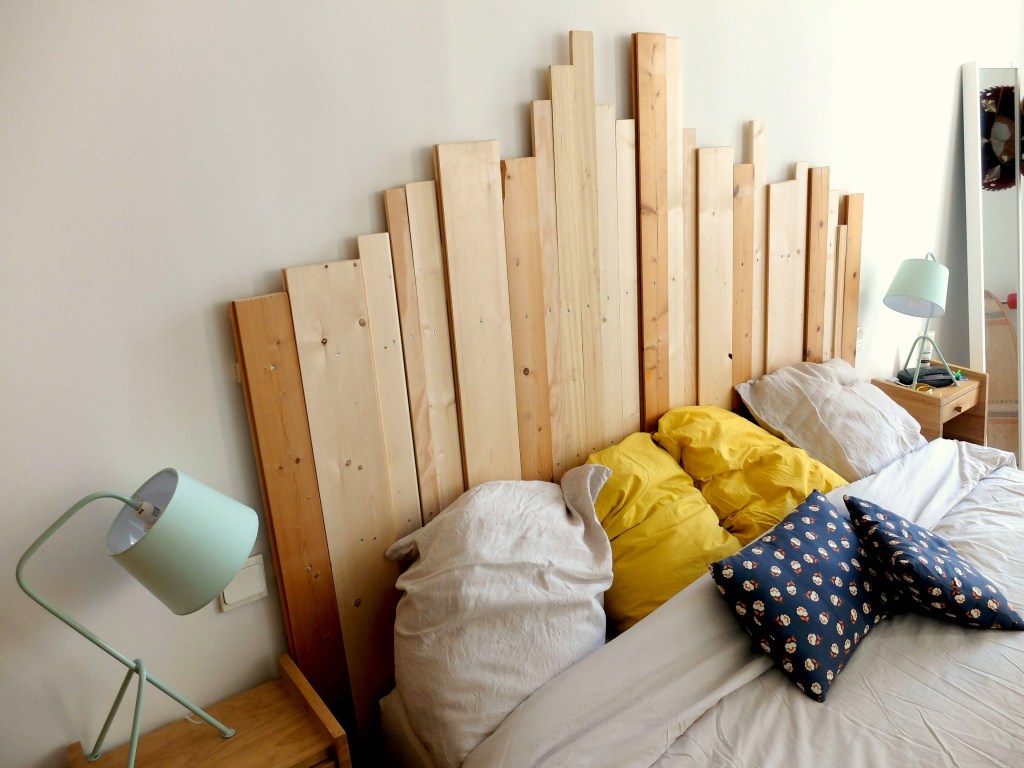
A headboard in colour
If you don’t want to keep the raw look of this headboard, you can of course paint your slats with special wood paint. I still advise you to put a small undercoat before applying the colour.
An important detail: should the wooden boards be painted before or after assembly?
If you paint beforehand, be aware that when you pierce the board you risk damaging the paint and the screw head will not be the same colour as your board. I therefore advise you to paint your headboard after you have built it. Use masking tape if you want to paint just a few boards or if you want to draw patterns.
Don’t hesitate to use spray-paint cans, it goes faster than with a brush.
A magnetic headboard
Do you like having your favorite pictures around? Your darling’s love letters close at hand?
That’s easy! Paint your headboard with magnetic paint: with a few magnets you can then “attach” your photos and beautiful letters to your headboard.
You can paint the entire headboard or paint only a horizontal or vertical strip.
I found this great DIY headboard at a lower price on this blog : http://ilyadesfois.fr/diy-tete-de-lit-bois/

