– Take out adjacent fence construction. …
– Cut or buy a few tapered (top to bottom) surveyor stakes about 24 inches long. …
– Drive a stake into the ground next to the post or next to the concrete. …
– Pull the stake.
– Fill the hole with water and level the post. …
– Add dry premixed concrete to the top of the hole. …
– Wait half an hour.
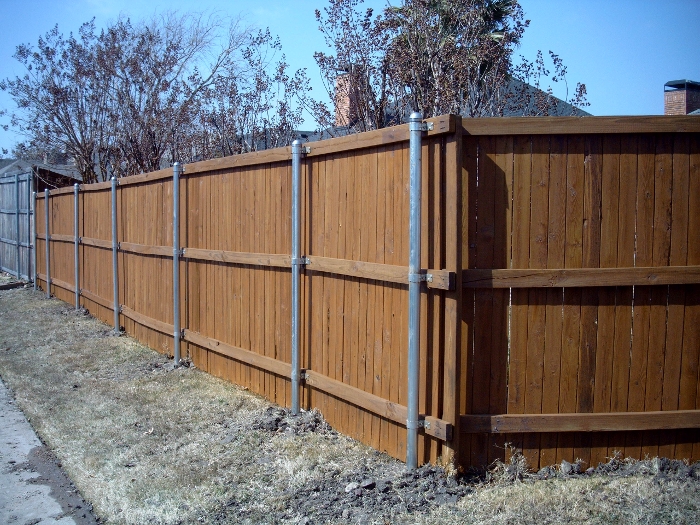
Method. To begin reinforcing the post, dig a few inches of soil away from it around the perimeter. Fill the hole with approximately 6 inches of gravel. Top the gravel with rapid-set cement mix powder to fill the hole to 3 inches below the surface of the soil.
Thereof, How do you reinforce a wooden fence post?
Also to know is, How do you secure a wooden fence post?
Subsequently, question is, How do you protect wooden fence posts? – Set the wooden fence posts in a cool, dry area with plenty of air circulation so the wood can dry. …
– Brush the bottom third or bottom half of the fence post with waterborne copper naphthenate, a wood preservative that is free of arsenic and chromium.
Also, How do you straighten a leaning pole?
Straighten the pole with the help of a friend. While one friend holds the pole, hammer the wooden stakes into the ground. Add enough tension to the ropes to hold the pole in place. Check that the pole is straight with a level, and make tension adjustments where necessary.
What to put on a wooden fence to protect it?
– Cached
How do I keep my wooden fence post from rotting?
Tamp down the gravel. You can use concrete, if desired, but the moisture in the concrete can sometimes cause wooden posts to rot more quickly, while the gravel allows water to drain quickly away from the fence post and into the soil.
Does a wood fence need to be sealed?
How Often to Stain and Seal Fences. While you should always follow the manufacturer’s recommendations, the general rule is that wood fences should be stained every five years and sealers should be applied every two to three. Of course, if you are staining and sealing it makes sense to seal after staining and vice versa …
How do you support weak fence posts?
You might as well dig a new post hole next to the old footing and offset the post spacing pattern. If you have only a few rotted posts, consider stabilizing them with steel splints or braces. If the post in question isn’t set in a concrete footing, E-Z Mender splints are the easiest, most effective hardware to apply.
How do you fix a leaning concrete fence post?
How do you straighten a bent fence post?
How do you keep wood from rotting in the ground?
Purchase a wood preservative that contains copper naphthenate at a lumberyard or hardware store. Pour about 1⁄2 litre (0.53 qt) of it into a large bucket. Set the end of your post that you’ll bury in the ground into the bucket and let it soak for 15–20 minutes.
How do you protect a wooden fence from the soil?
– Cut the bottom end of the pickets so it’s no longer touching the dirt. …
– Add stone/gravel to provide free-draining surroundings as you suggest. …
– Remove some dirt near the fence (may be too much work, or against your landscape design goals).
What should I use to seal my wood fence?
It’s Time to Apply Wood Fence Waterproofing Make sure you use high-quality oil stains or sealers to protect your fence from the sun’s ultraviolet rays, humidity, rain, and heat. The color pigments in stain actually repel UV light, which prevents the wood from turning gray.
How do you fix a bent fence post?
Start by breaking up the old concrete footing with a 3-pound sledgehammer and cold chisel. If other posts are also leaning, break the footing around them, too. Drive a stake into the ground to brace the fence, and then screw the stake to the brace with a single screw. Plumb the fence, and then clamp it to the brace.
How do you waterproof a wooden fence post?
How do you fix a leaning light post?
Just be certain to tamp down the dirt and soil all around the entire pole and tamp down firmly. It truly works! To fix our leaning light post I leaned my body weight into it until straight, then partner inserted two solid wood doorstops in gap and hammered them flush into the ground. Worked easily and looks perfect.
Don’t forget to share this post 💖
References and Further Readings :
