Tired of seeing how your electricity bill increases and unable to move towards a more sustainable model for the price of the panels? If this is your case, there are alternatives, such as make it yourself. With these simple steps, a DIY store nearby, and the internet to buy the missing materials online, you will not need to be an expert in solar energy to get your own home system.
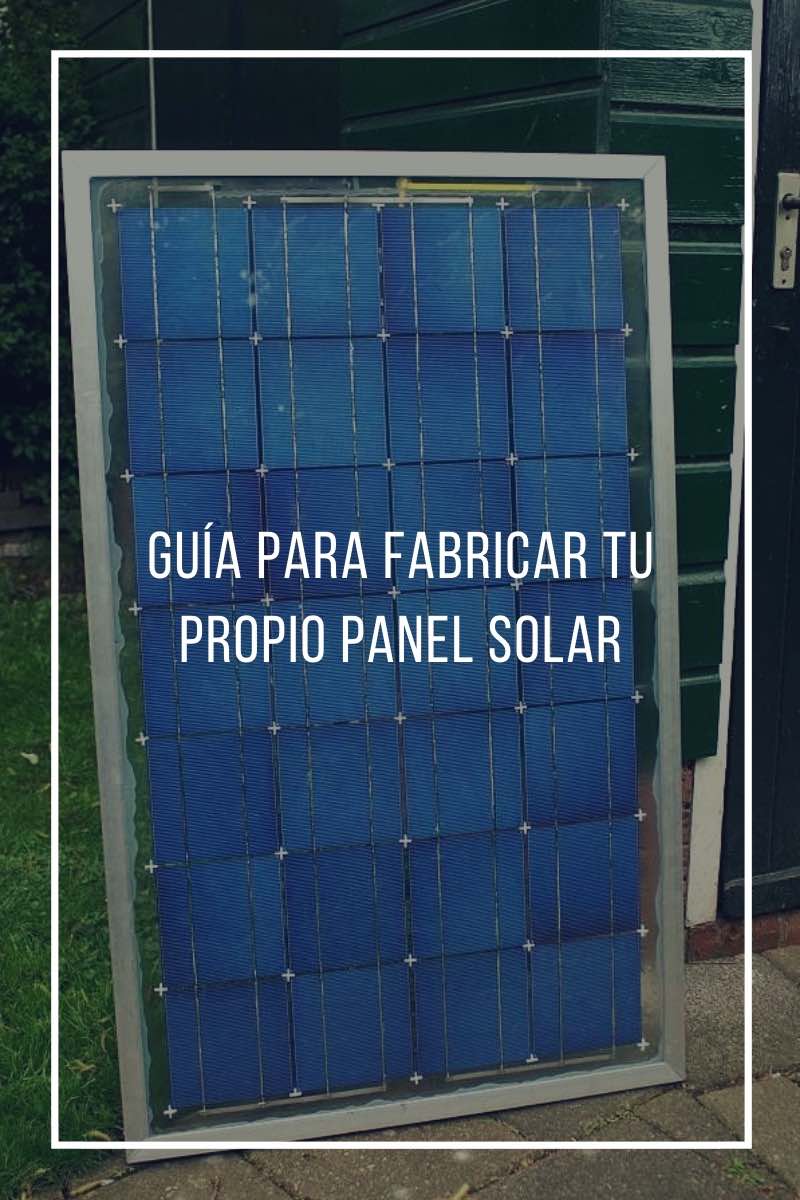
Guide to make your own solar panel.
Materials.
Before you start manufacturing the panel, you will need enough materials. The good news is that in any DIY store or through the web you can buy them without difficulty. This is all you’ll need for a panel like the one built in this project. The total price surprises: just over $ 211. With this, a system with two solar panels, inverter and meter would cost around $ 440.
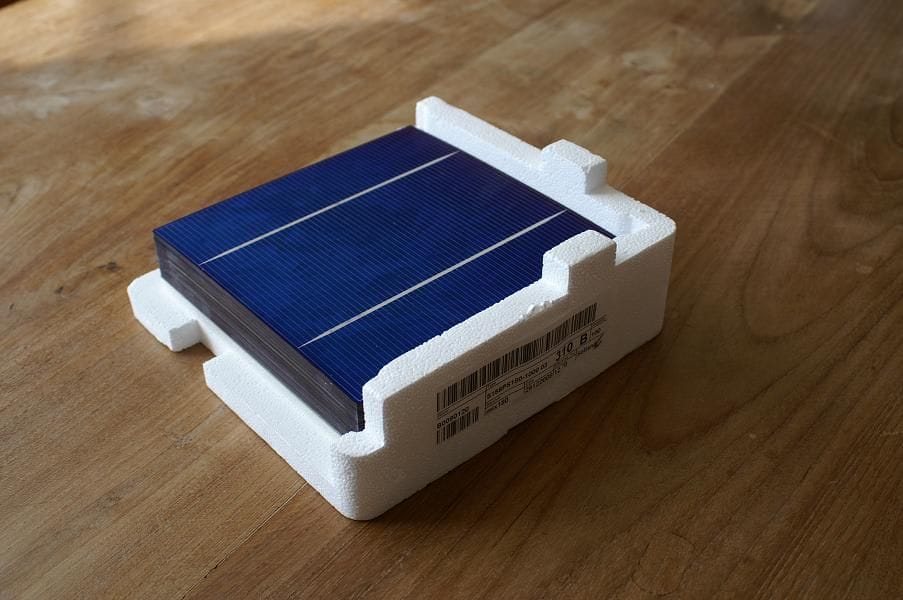
- 28 solar cells
- 2 sheets of glass.
- 6 amp rectifier diode.
- Aluminum frame 30 x 30 x 3.
- 5 mm flat cable.
- 2 mm tape.
- Silicone.
- Tile crossings.
- Connection box.
- Welder
- Terminal Block
- Heat shrink tubing.
To have the complete system, you will have to add the inverter to the list and, if it does not have a performance meter, a power consumption measurement device.
Instructions.
1. Hands to work.
Now that you have everything, it’s time to get down to work. To do this, you can start by welding the cells following the diagram of the series, until you have your panel. In the case of this example, a four-stripe module was chosen, with seven cells in each of them. However, you can adapt the form according to the characteristics of the place where you are going to place it.
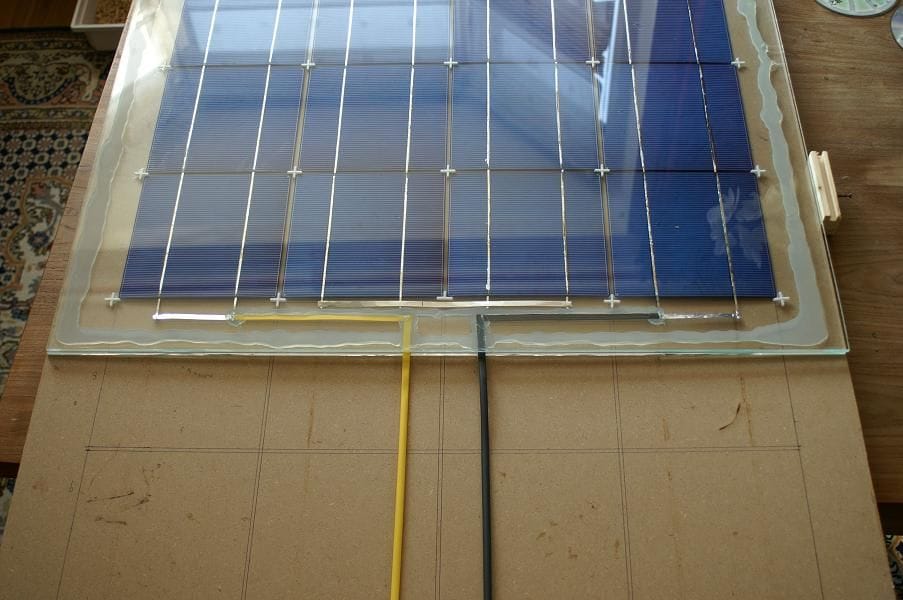
Then put some silicone on the back of the cells and adhere them to one of the glass sheets. Add glue if you want to strengthen the adhesion.
Once it dries well, place the panel on the other side and install a crosshead for tiles between each of the cells if you want to provide the system with greater rigidity. Then, apply silicone around the edge of the glass and glue the other sheet, so that the cells are between them.
two. Drying process.
Once the construction phase is finished, you will have to wait for the panel to dry for at least one day. If there is any gap between the two crystals, now you can use it to close it with more sealant, although then you will need to prolong the drying process, which can reach up to three days. Finally, if you want to protect the panel crystals, you can place around an aluminum frame that will further strengthen the structure.
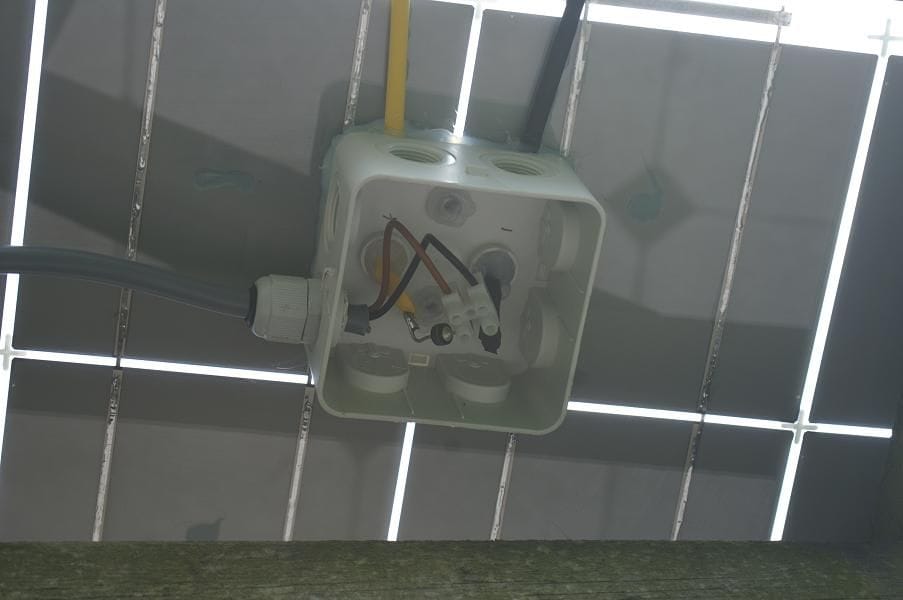
3. Place the connection box.
For everything to go, you will need the system to be connected. So, in this step you will have to install a junction box on the panel, preferably at the rear. It must be the positive and the negative of the module, so that it can be connected to the inverter (next step). To avoid that the current flow is directed towards the panel when it is in production, a diode can be included between the positive of the panel and that of the inverter that, precisely, will help in that objective.
Four. Inverter and performance meter.
The next step for the domestic system to be complete is to get a compatible inverter that adapts to the amount of energy you expect to capture. As you can see, for the original project it was enough with a system of 100 W of capacity to convert a good part of the energy captured by the three designed panels.
If the inverter is not equipped with a performance meter that helps you know the current output, you can purchase on DIY surfaces or through the web a power consumption measurement system which, despite being designed for electrical appliances, will also be used for solar panels.
5. Start-up.
If you have followed all these steps, you will only have to put your panels to work in the best location you have and start capturing and converting energy. Check the behavior regularly And, if you see that the maximum output voltage of the panels has been reached, it is that everything is running and that your home system works at the commercial level.
It remains to clear the question of the useful life of the panel, which will be clarified over time. Until then, the savings of manufacturing versus buying will help you recover your investment much faster.


Summary
Comments
comments
