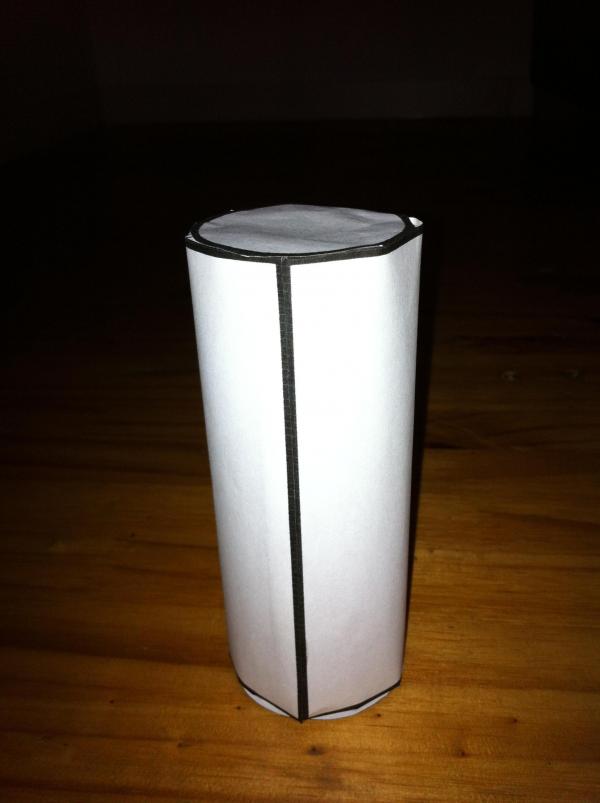
A cylinder is the surface formed by points situated at a fixed distance from a straight line, which is the axis of the cylinder. The solid formed by this surface and the two planes perpendicular to the axis are called cylinder. Next, we show you step by step how to make a cylinder.
Steps to follow:
1
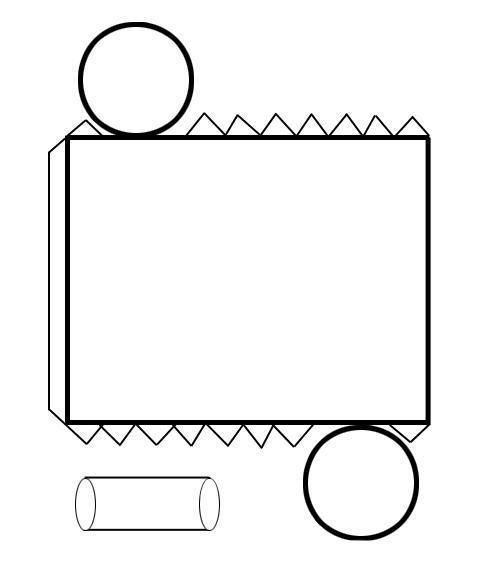
Copy this model from cylinder for a piece of paper, cardboard or cardboard.
2
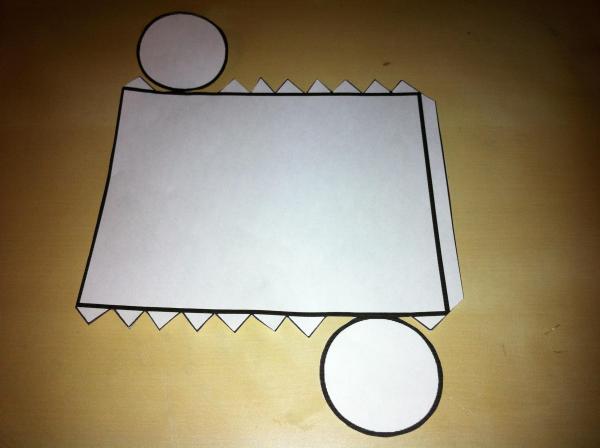
Cut out the cylinder with scissors.
3
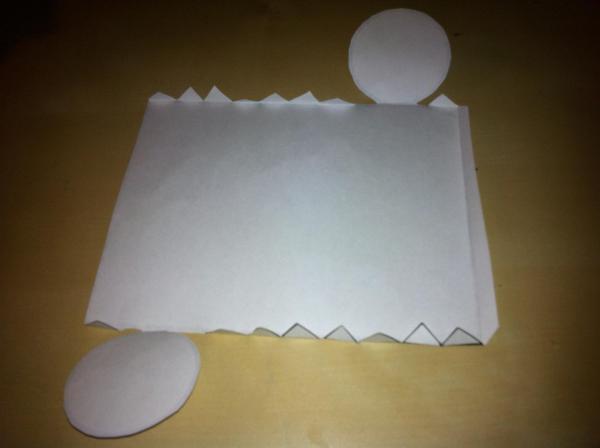
Fold the model over all the lines. Try to assemble the cylinder before you put glue on to see where each flap fits.
4
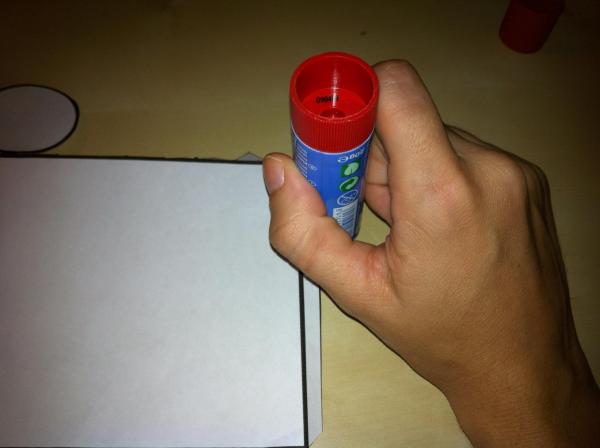
First, put glue on the long flap to do the whole thing.
5
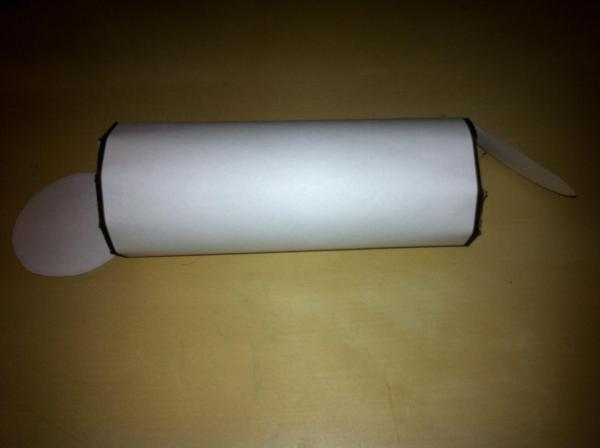
You already have everything from cylinder done! Now you have to put glue on the small flaps (triangles) to glue one of the bases.
6
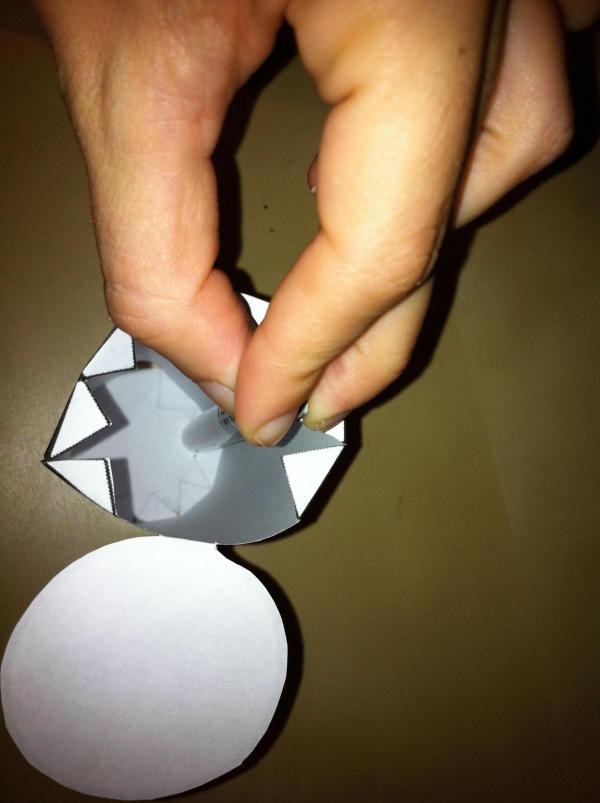
Help glue with a pen to press the flaps so that they stick well.
7
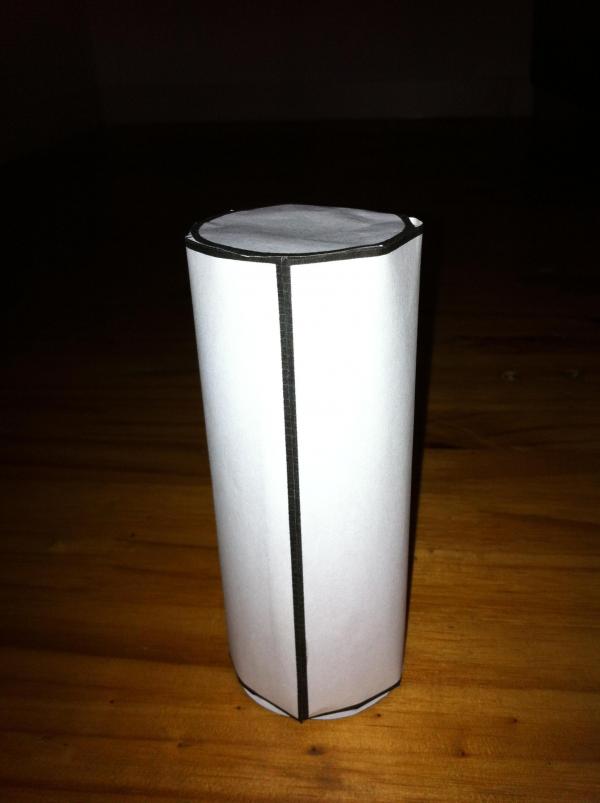
Now glue the remaining flaps and glue them to the other base of the cylinder. So that they stick better rotate the cylinder to make a little pressure on the flaps. You already have your cylinder that’s it!
If you want to read more similar articles to How to make a cylinderWe recommend that you enter our category of Art and Crafts.
Tips
- If you’re not very good at drawing, copy the image into a word document. Choose the size you want and print it.
- You can make your cylinder with colored cardboard. Choose the one you like best!
- We recommend that before you start glueing, you first try to mount the cylinder to see where everything fits. As soon as you notice put glue on a flap and glue it, and so on with the rest of the flaps.


