Image: betadiascosta.blogspot.pt
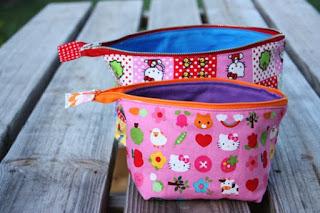
A necessaire is an indispensable accessory for a journey. It is a bag inside which the objects of daily and personal hygiene are transported. It is also widely used in the bathroom, to store these objects, as a substitute for boxes or cupboards for this purpose.
It’s a very personal accessory, which should be to the liking of those who use it. So, nothing better than to make your own necessaire, right to your style. In this article from aComo.com.br we will teach you how to make a fabric necessaire.
Steps to follow:
1
To start doing your necessaire, choose a …with which to identify, to make the outside of the bag. Choose another, padded, to make the inner lining.
Also choose one zipper, the size you want your bag in, with a colour that matches the fabric chosen.
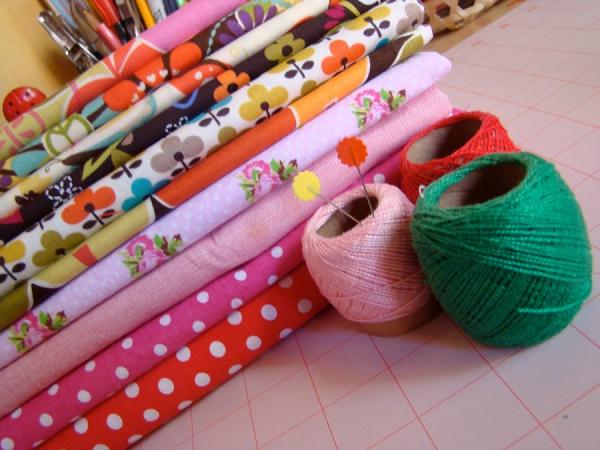
Image: adistribuidoramagazine.com.au
2
The next step is cut your fabrics, rectangular in shape. The length should be the size of the zipper (always leave a margin of 2 cm for the seam).
You should cut two strips of the same size as the outer fabric and two strips of the same size as the previous ones of the padded fabric.
Attach the outer fabric strap to the padded fabric with pins, placing the outside of the main fabric down and the lining with the front up, leaving it inside out.
Place the zipper at the top and sew it on the sewing machine or, if you prefer, by hand. Don’t forget to put the fabric around the zipper between the two fabrics.
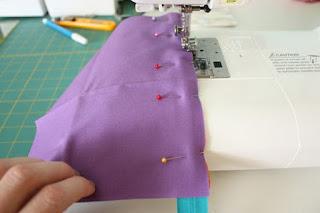
Image: betadiascosta.blogspot.pt
3
Then do the same with the other strip of fabric, attaching it to the lining, and sewing the zipper. At the end, close the zipper and confirm that both parts of the bag are lined up.
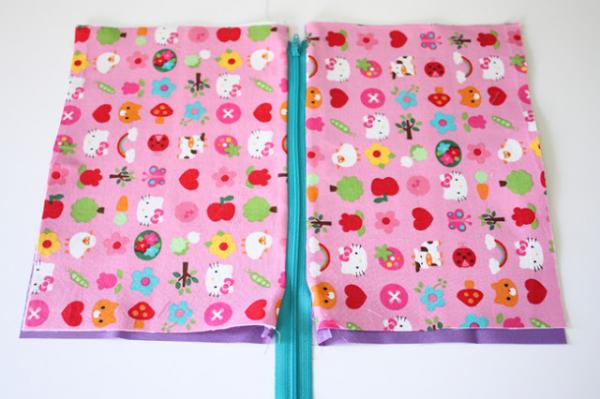
Image: noodle-head.com
4
The next step is sew all the fabric. Make sure the pins are still well placed and that all the fabrics are aligned and turn them inside out, leaving it up.
Open the zipper halfway and sew the linings first, turning them to one side and then the outside fabrics, always inside out. In the end, make a triângulo at the end of each side of the seam and cut the upper nozzle, sewing it straight.
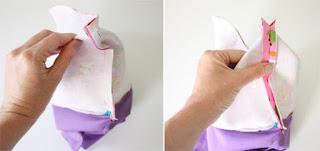
Image: betadiascosta.blogspot.pt
5
After you’ve sewed all the fabric, turn it on the right side and close the zipper.
Cut a little piece of fabric, rectangular in shape, folding the ends inwards to secure it in the ziper: put the folds under it and sew it on.
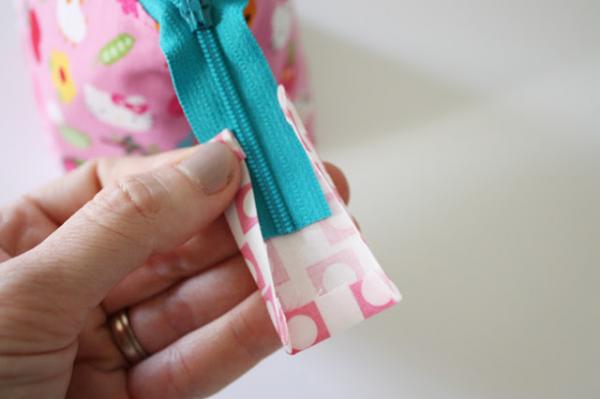
Image: noodle-head.com
6
And his necessaire it’s ready! Its interior should look like in the image! Now just put your products inside and enjoy your work!
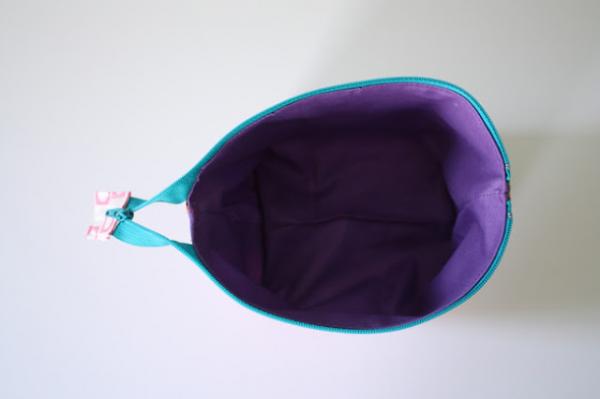
Image: noodle-head.com
If you want to read more similar articles to How to make a fabric necessaireWe recommend that you enter our category of Art and Crafts.


