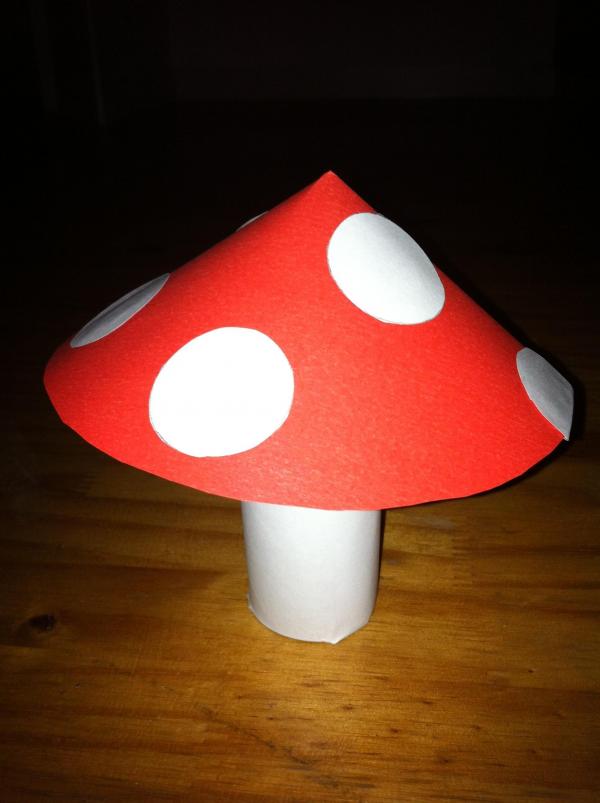
In this article we teach a very simple and very typical fall manual activity. It is ideal to do with your children and then use it as part of the decoration of the house. You will only need one roll of paper toilet (without the paper) and two sheets of paper (one white and one red). It is a very easy and fun manual activity that will make your children enjoy a good time. Next, we teach you like making a mushroom out of a toilet roll.
Steps to follow:
1
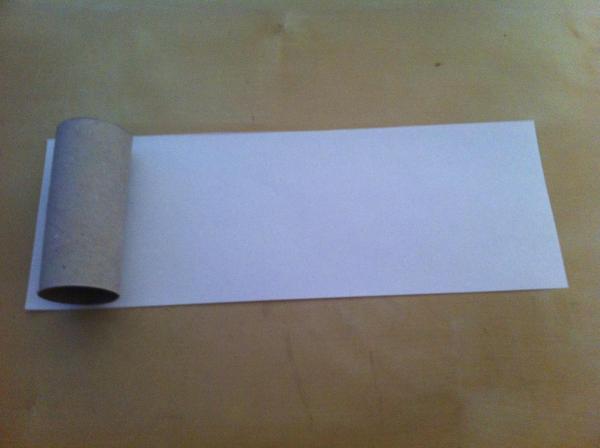
Take a roll of paper hygienic finished and half sheet size A4 cut horizontally.
2
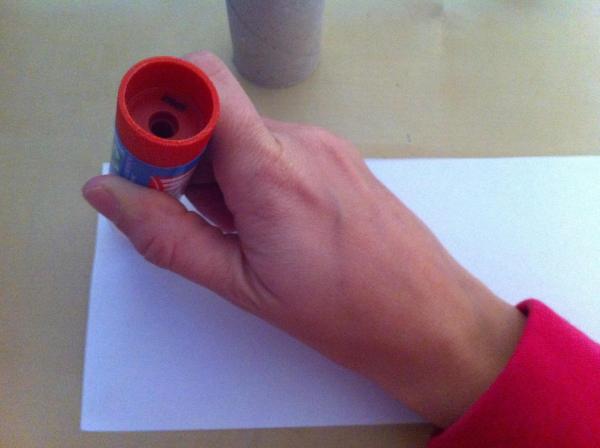
Put glue all over the sheet and start rolling it on the roll to make it stick well.
3
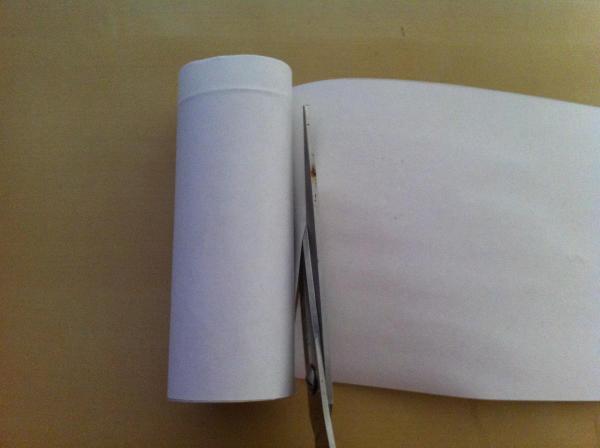
When all the roll is covered in white, cut off the leftover part with the scissors.
4
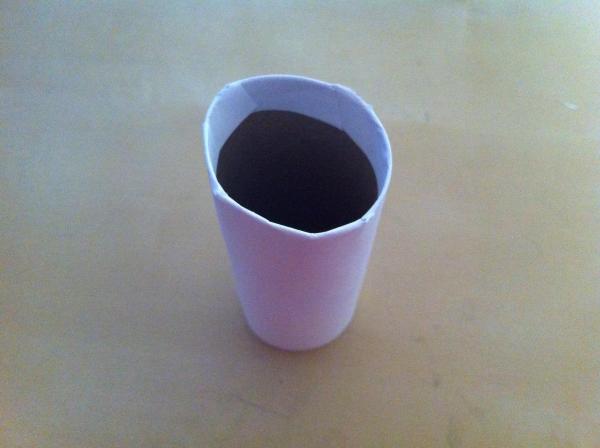
There will be a bit of paper at one end of the roll. Make three cuts with the scissors, put glue and put the three flaps on the inside of the roll (it will look the same as in the photo).
5
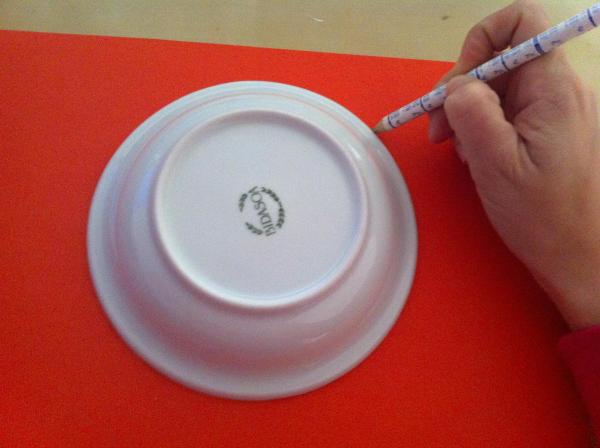
Take a round shaped container or a compass to make a circle on a red coloured sheet (we take a bowl).
6
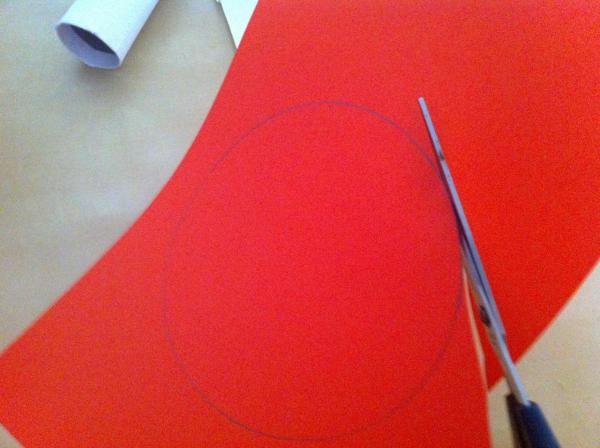
Cut out the circle.
7
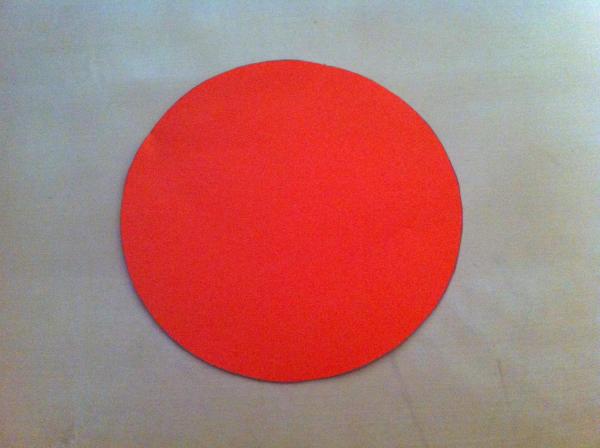
You already have the circle cut out.
8
Make a cut to the center (observe the image).
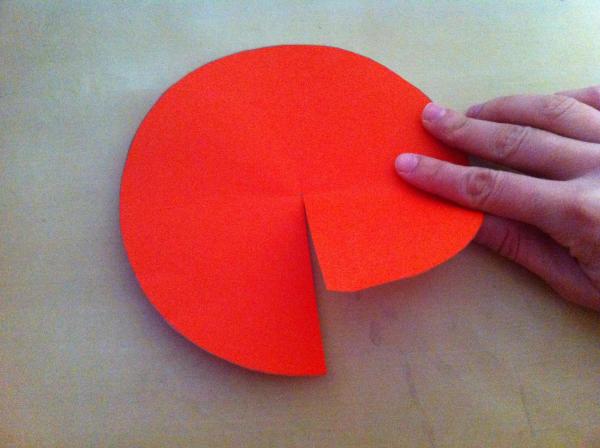
9
Put a little glue in a quarter of the circle starting with where you cut it (look at the line marked with pencil in the photo to know how far you have to put glue).
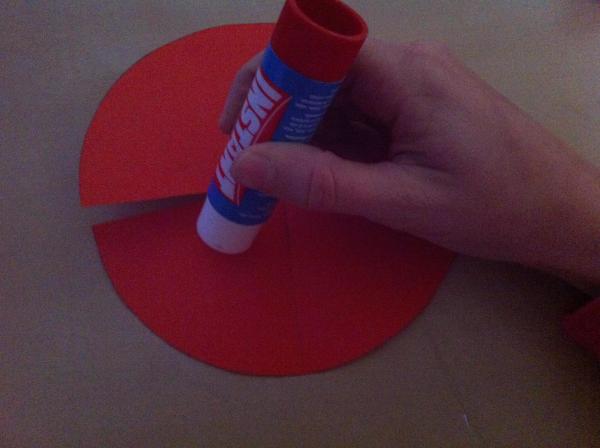
10
Stick it on and you’ll have the top of the mushroom.
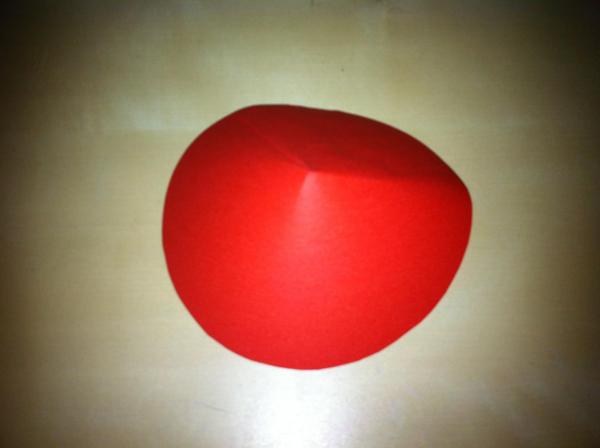
11
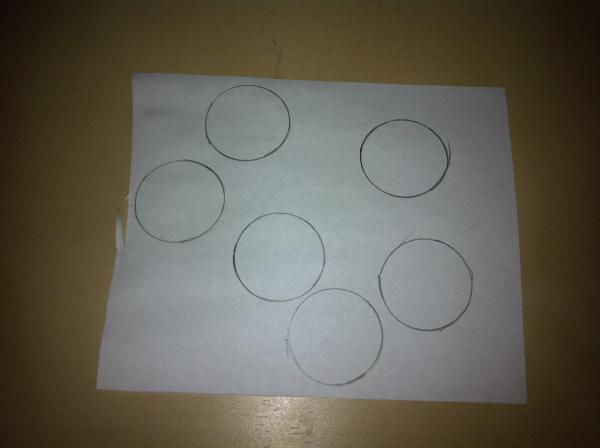
On a piece of white paper make smaller circles (we use the glue cap to make them).
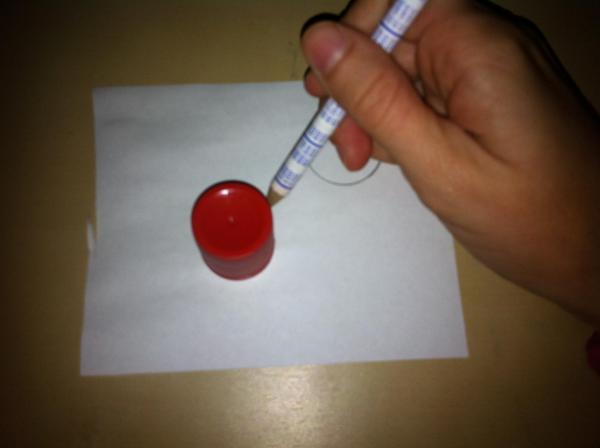
12
All circles are done!
13
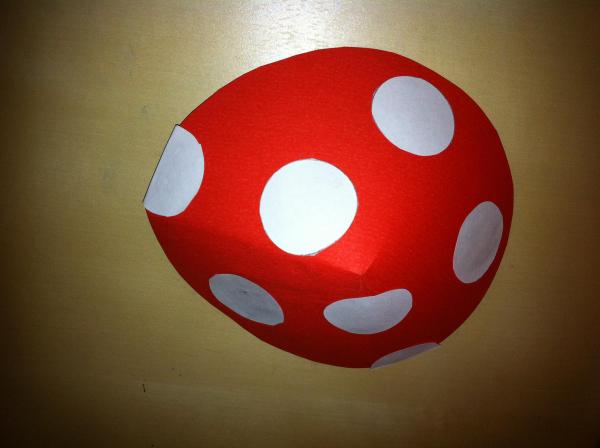
Cole in the hat of the mushroom (some you can break in half as seen in the image).
14
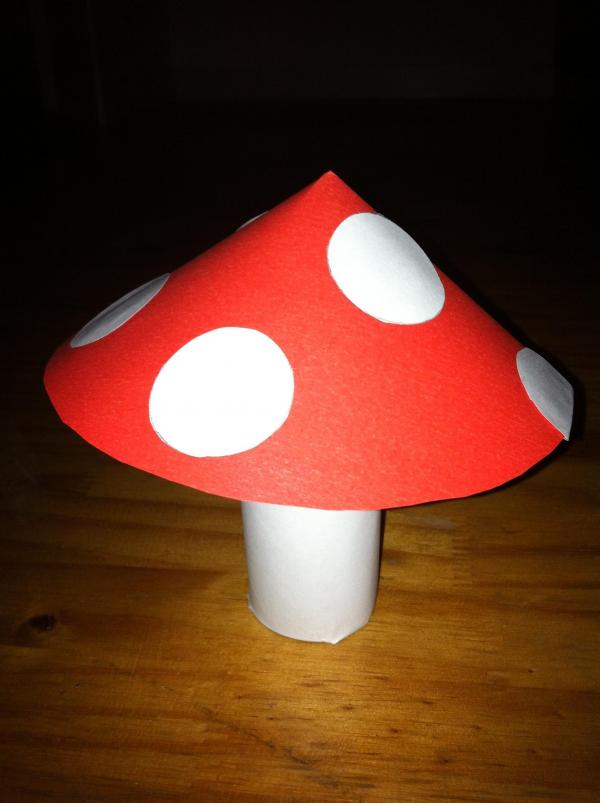
Now all that’s left is to put the top of the mushroom on top of roll of paper hygienic and that’s it! You have your mushroom ready!
If you want to read more similar articles to How to make a mushroom with a toilet rollWe recommend that you enter our category of Art and Crafts.


