Image: revistaartesanato.com.br
pot rest they’re never too much! They are indispensable in any kitchen and under any circumstances! Of fabric, of cork, of cardboard, of bottle cap, at last… there are countless models and materials! The important thing is that it is functional and to your taste!
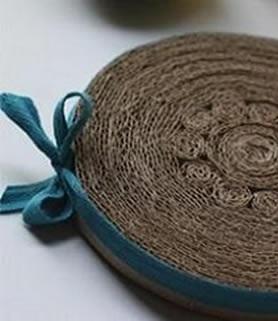
In this article from umComo.com.br we will teach you how to take a break for pots of cardboard. It is super economical and very beautiful, becoming not only a tool but also a decorative detail of your table!
Steps to follow:
1
Get your cardboard and, with a pen and a ruler, mark strips about 2 cm wide and 20 cm long.
Then with scissors or a stiletto, clipping the strips. You will need approximately 40 strips of cardboard.
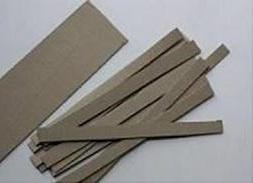
Image: artesanatoeartesanato.blogspot.com
2
Now let’s make the pot rest center!
Apply a string of glue along a strip of cardboard and roll it up, …by putting pressure on her to stick it together. Increase its size by adding more strips, that is, at the end of the roll, join the tip of another strip and also roll it in the roll, until you get a roll about 10 cm in diameter.
Then do the same process but roll only one strip per roll, making more rolls small to put around the main. Make about 12 smaller rolls.
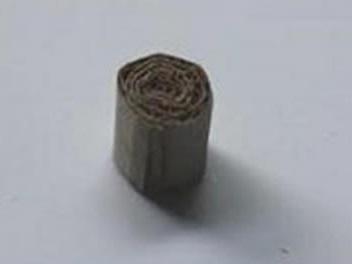
Image: marlenneartes.blogspot.com
3
The next step is paste your little rolls. In the central roll (the bigger one) put glue all around it and gather the smaller rolls around it, pressing them so that they are well glued.
After they are all glued to the larger roll, outline them with a crepe tape, very tight and let the glue dry, to make sure that the rolls stick well.
After you make sure everything’s glued together, remove the strip. You should have a base like in the photograph.
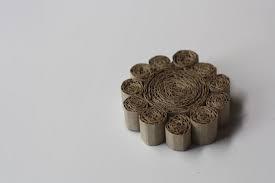
Image: comofazeremcasa.net
4
Now, to give your pot rest more size and to make it totally round, let’s go to the final part!
Put glue on the rest cardboard strips and stick it, one by one, around the piece you already have. Bypass the piece with the cardboard strip, if it is not long enough add a little more, and do the same until you get the diameter you want for your rest.
After gluing all the strips together, place the crepe strip around the piece again, very tightly, so that the glue dries out and the materials stick well.
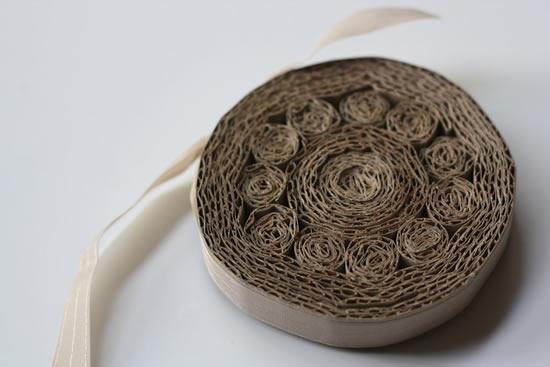
Image: bellarteatelier.blogspot.com
5
Once dry, just remove the tape you used to press on the part and replace it with a tape very pretty, that matches the colours of your kitchen or your dinner service.
Put some glue on the tape and glue it to the side of the stand. At the end make a laço very nice and put a little more glue in the center of it to fix it well.
And it’s ready! It looks beautiful, doesn’t it? And it was so easy to do!
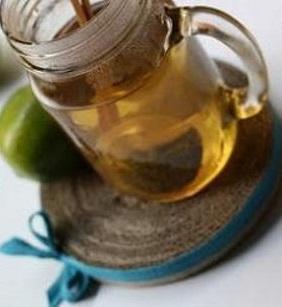
Image: oartesanato.com
If you want to read more similar articles to How to take a break for potsWe recommend that you enter our category of Art and Crafts.


